
This recipe and guide will teach you how to make exceptional Kansas City-style smoked baby back ribs and pulled pork that are better than all but the top echelon of BBQ restaurants. For an example of BBQ this won't beat go to Oklahoma Joe's in Kansas City, Kansas.
We'll be making 2 full racks of ribs and a 9 pound pork shoulder. It will take about 10hrs in the smoker (2 hours per pound after the shoulder is cut in half). This will be enough to serve 6-8 very hungry adults, with everybody getting a few ribs and plenty of pulled pork. This is about max capacity on my Weber Smokey Mountain smoker without using an additional rack system for the ribs.
Note: I've iterated several times on this recipe and will continue to make updates as I improve it. I have tried very hard to make recipe as simple as possible and I have eliminated as many ingredients as possible.
Ok, let's start with the ribs.
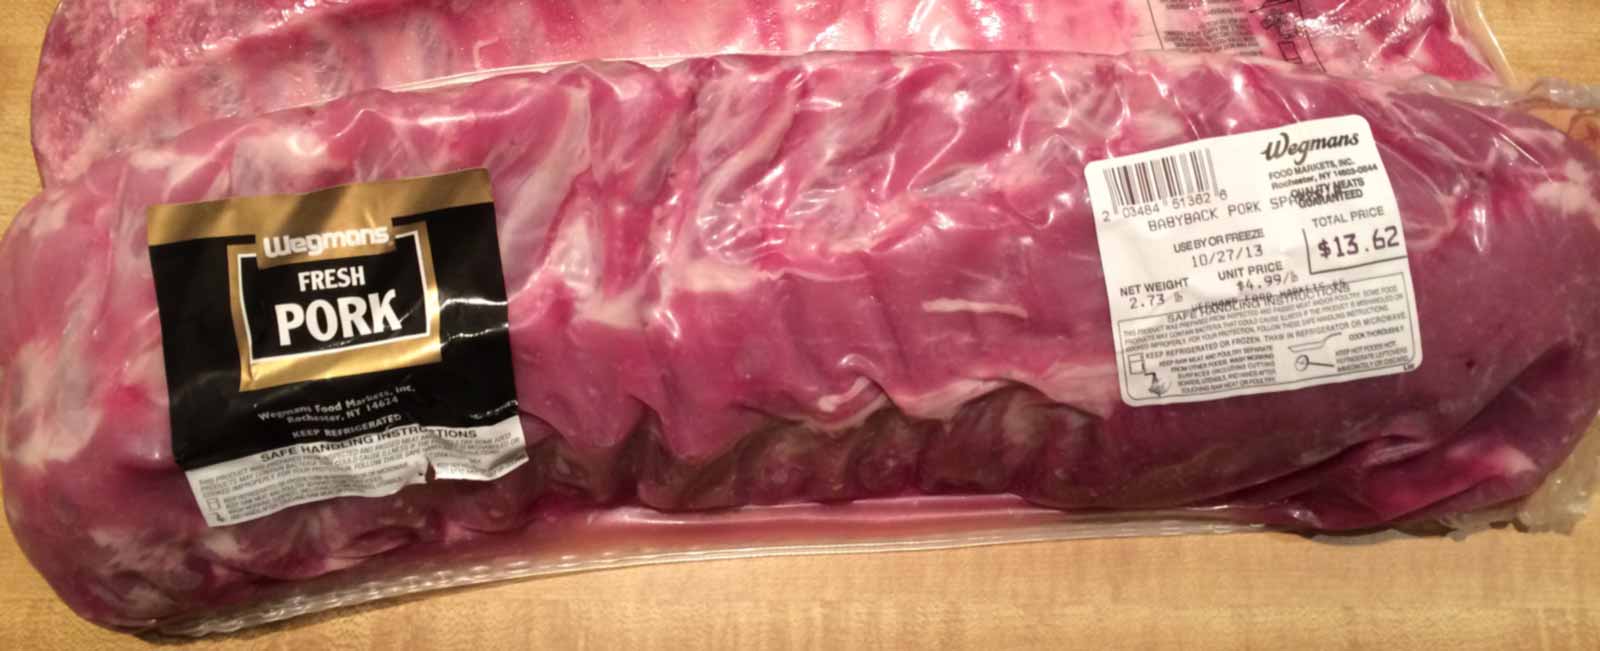
Buy baby back ribs.
They will taste better and be less fatty than spare ribs. Buy ribs that look like they are meaty, trimmed well, and don't show much of bones (these are called "shiners"). I've had great luck with baby back ribs from Wegman's, Whole Foods, and Trader Joes. Buy ribs that are fresh and far from their expiration date.
Note: I'm still iterating my spare rib recipe and if I can make them as good as the baby backs I will post results.
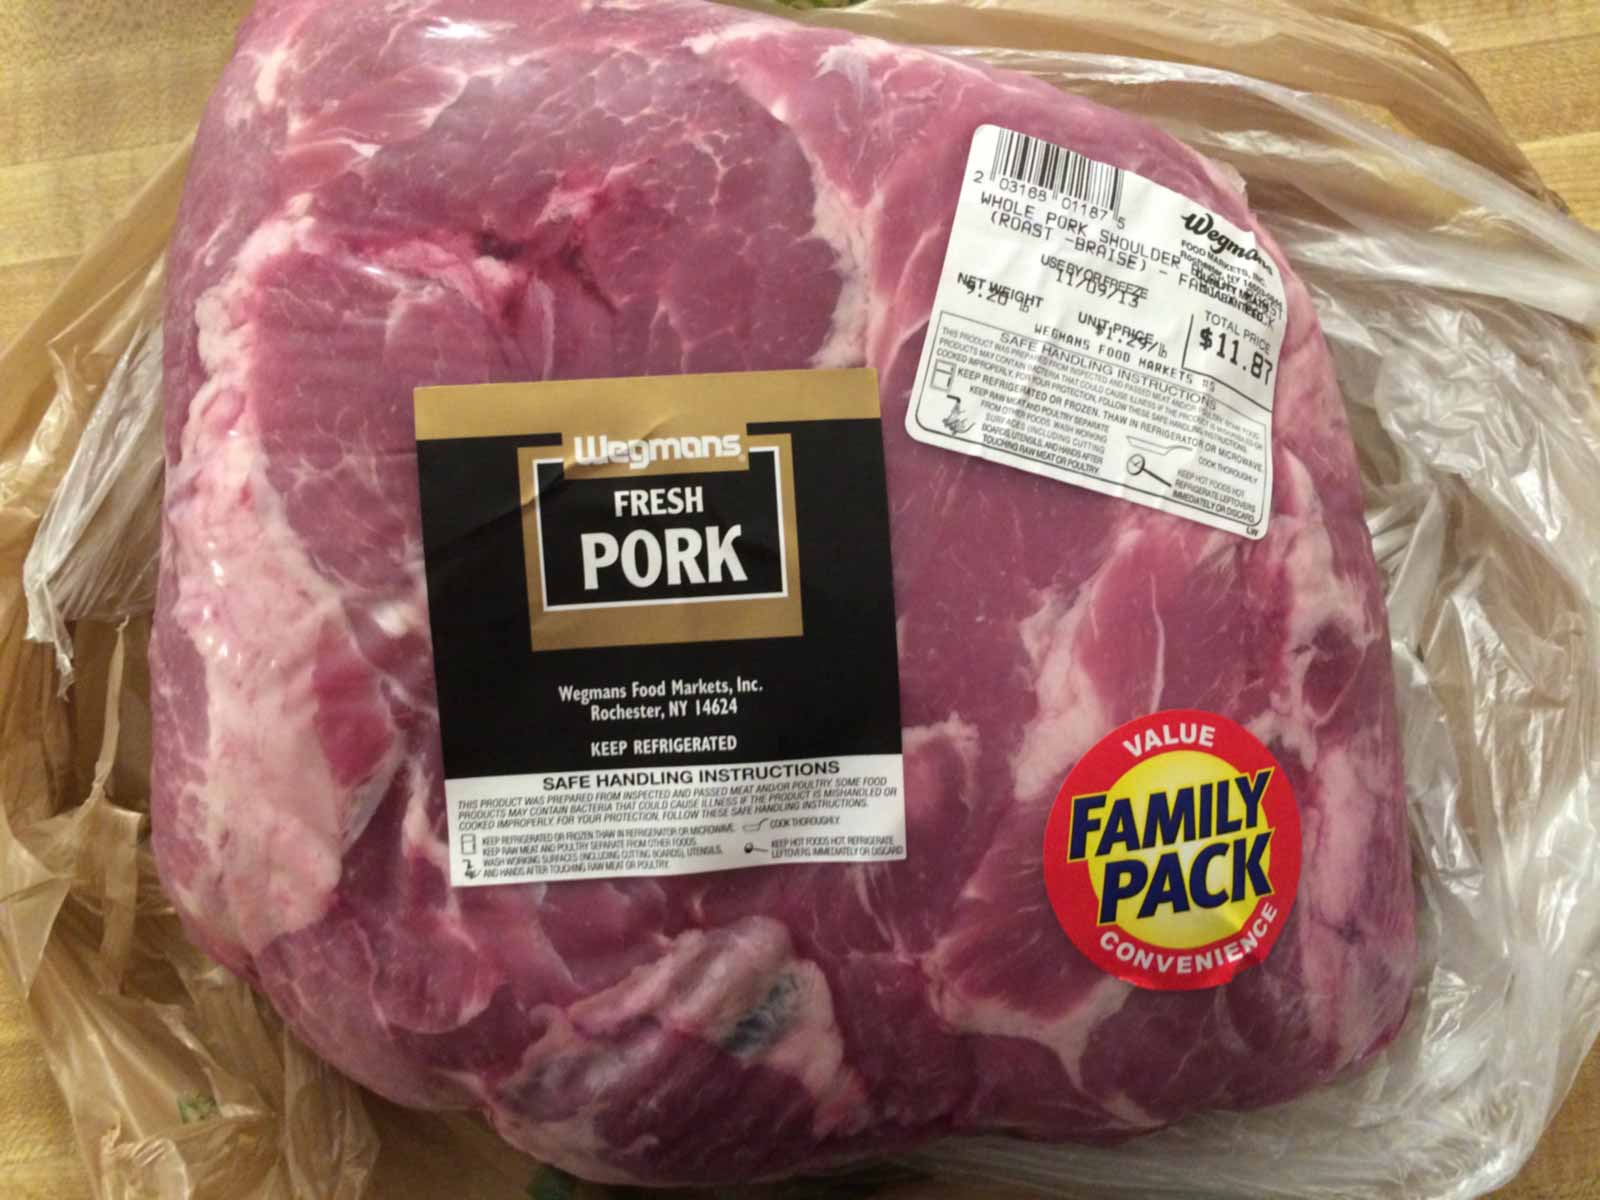
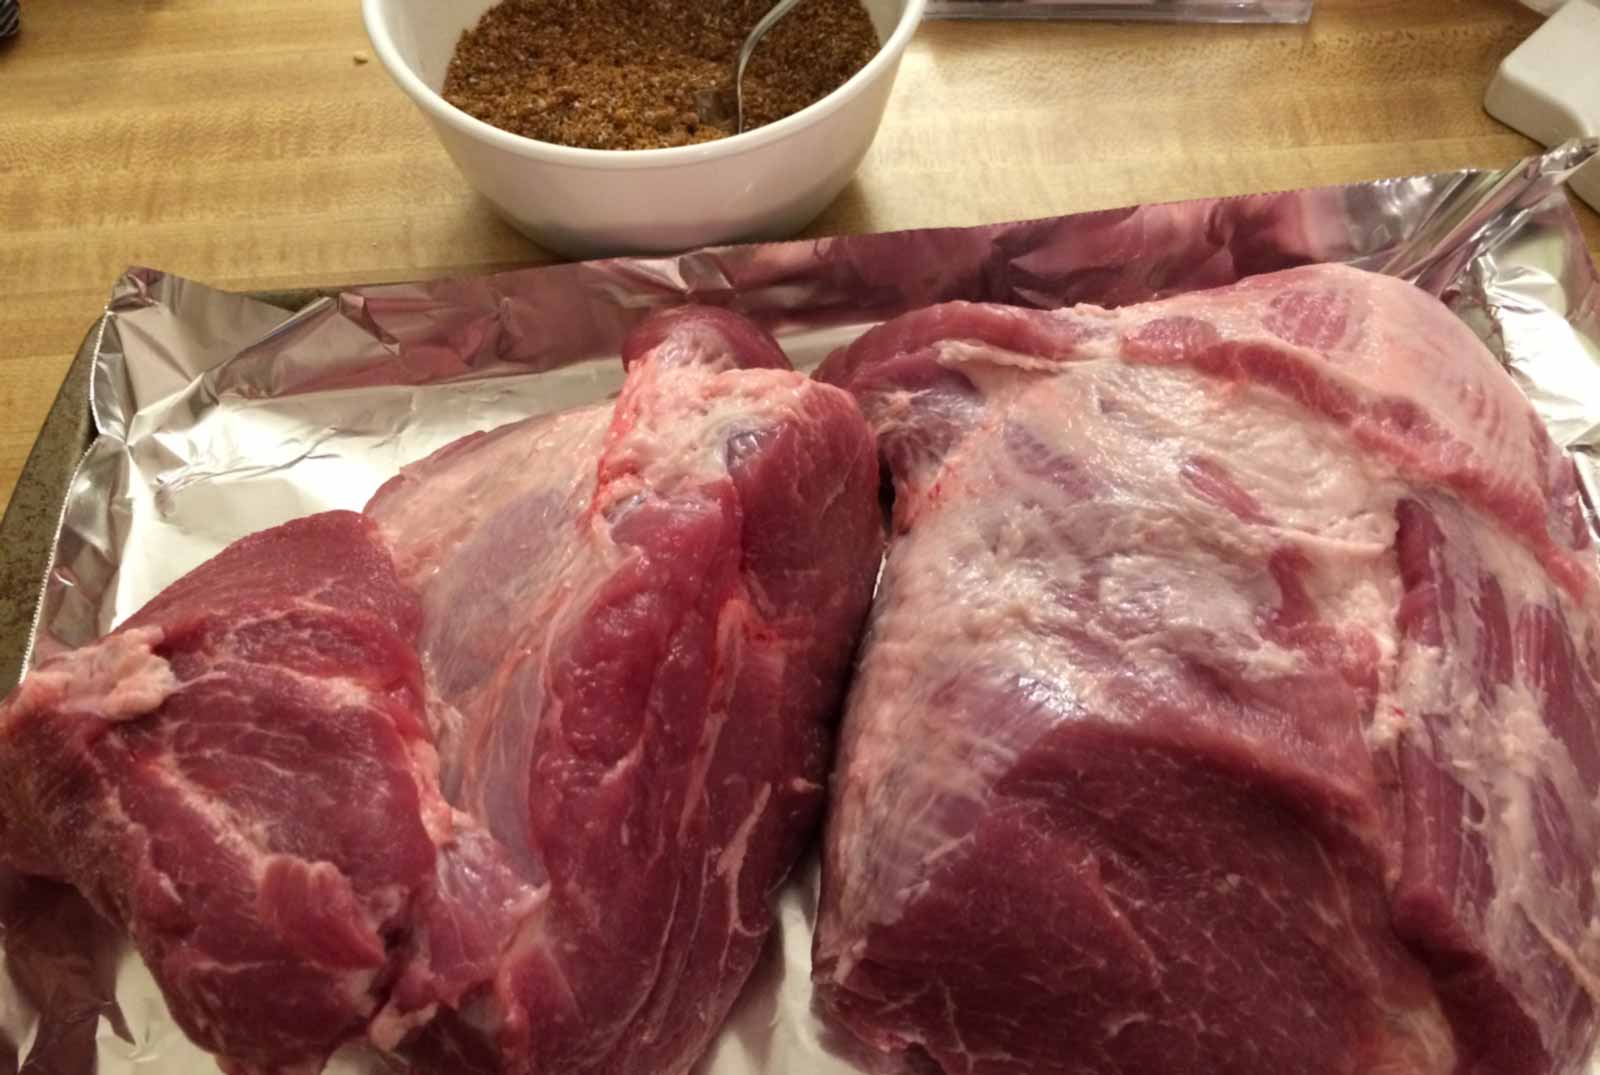
For the pork shoulder I typically go with an 8 or 9 pound bone in pork shoulder (also known as a "Boston Butt"). If you look closely at the photos you will notice that the pork shoulder is on average about 75% cheaper per pound than the ribs. However, it will taste as good as the ribs, and you will certainly have some people who prefer it. The Boston Butt is going to have to be in the smoker for about 2 hours per pound after it is cut in half.
We're going to prep our meat, rub our meat, and put it back in the refrigerator so the rub has some time to setup and stick to the meat.
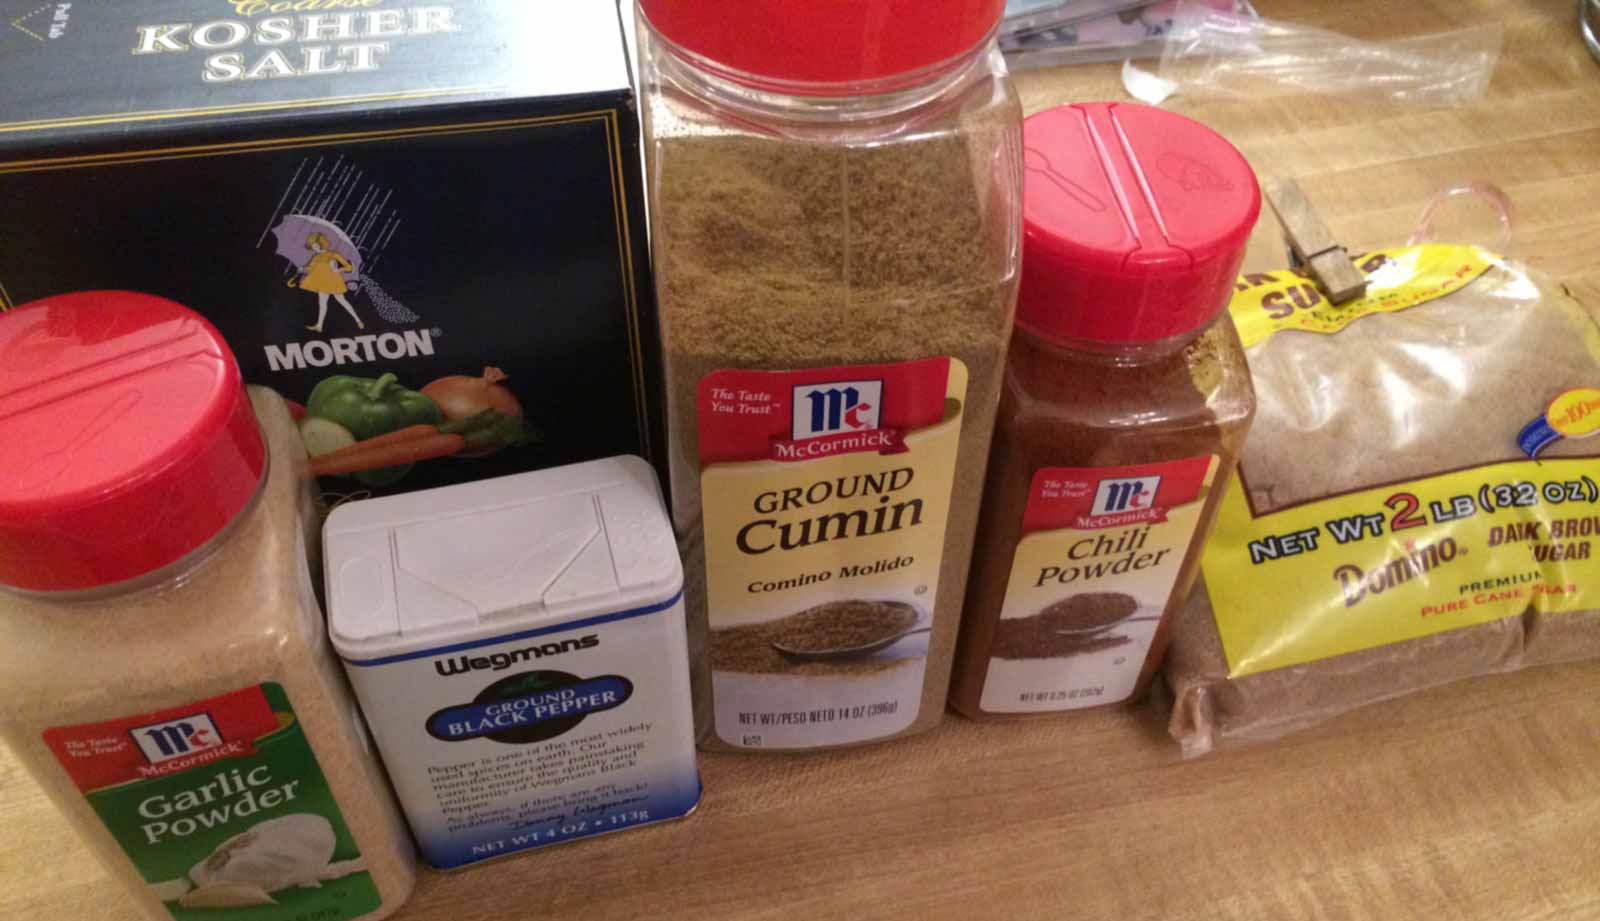
Mix the following 6 ingredients in a bowl with a fork or your hands:
Note: Cut the recipe in half if you are aren't making both ribs and pulled pork.
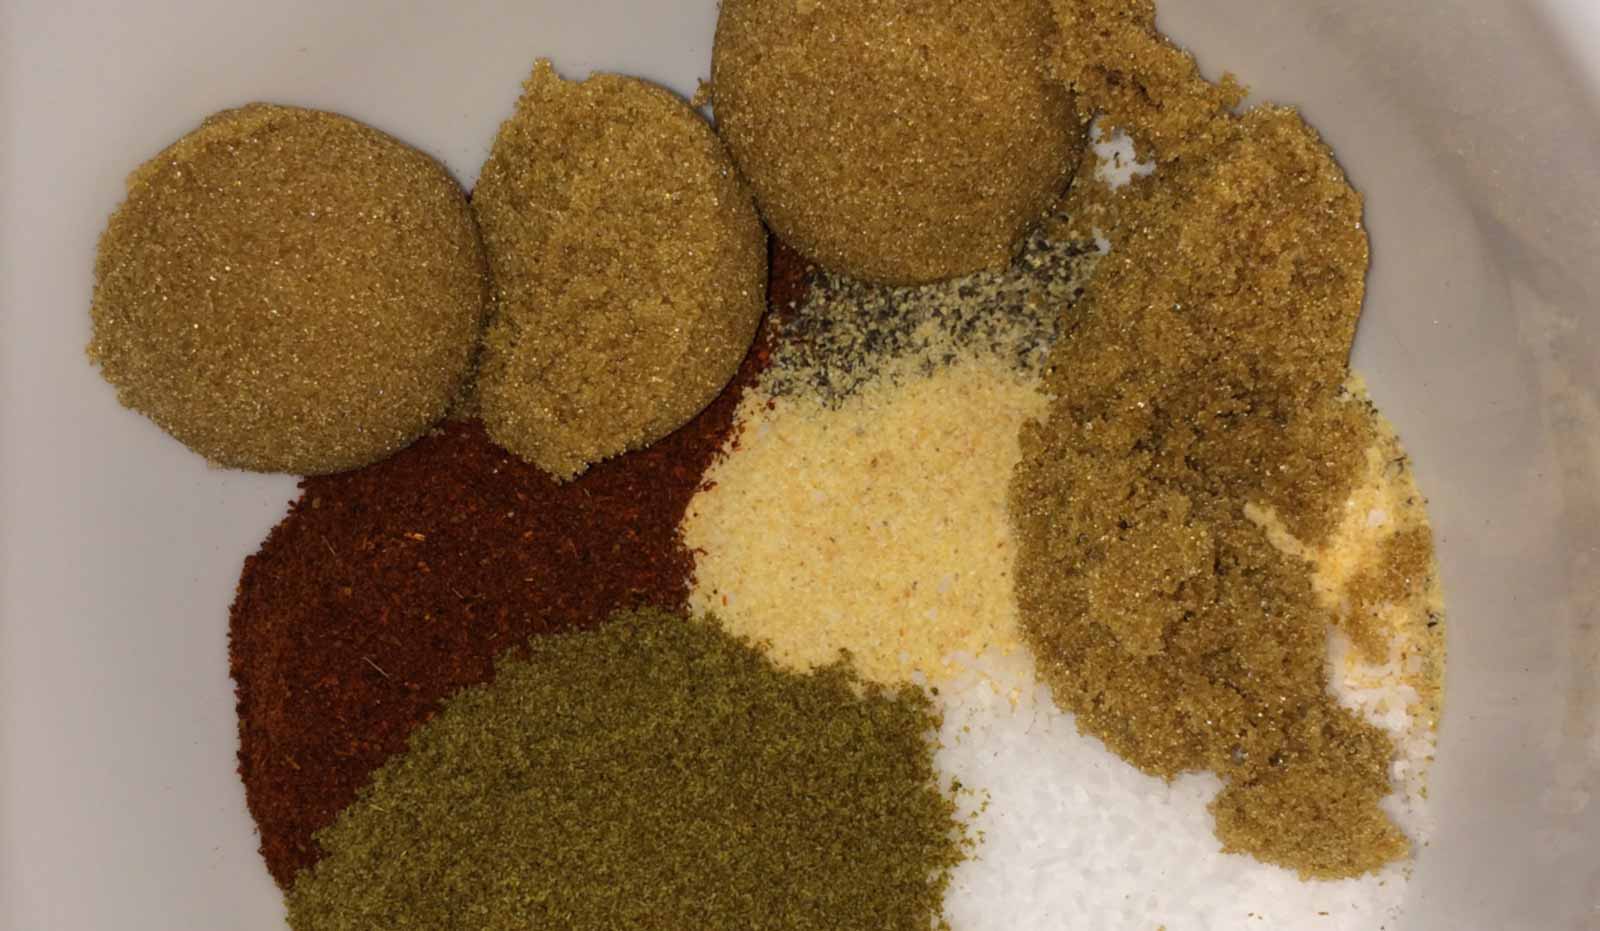
Note: I've tried to reduce the rub to the simplest list of ingredients I could make and still have it be freaking delicious. In the past I've tried adding mustard, honey, maple syrup, whiskey and many other spices to the rub.
Remove the ribs from the packaging and rinse them off. Place them on a cookie sheet. I cover the cookie sheet in aluminum foil to ease cleanup (and I have a lot of old rusty cookie sheets). Then we have to remove the "silver skin" (or Fascia) from the inside of the rib cages. Removing the silver skin helps the rub reach all the parts of the meat on the ribs and eliminates the stringy-ness of ribs.
Plenty of chefs will tell you leave the silver skin on the ribs to help hold them together. They are wrong. Do you want ribs so tender they fall apart? -- Then pull the darn silver skin off!
Use a paper towel to grip the silver skin with your hand and pull it off. I've occasionally had to slip a knife under the skin to get it to peel. It should take you about 5 minutes to prep each rack of ribs.
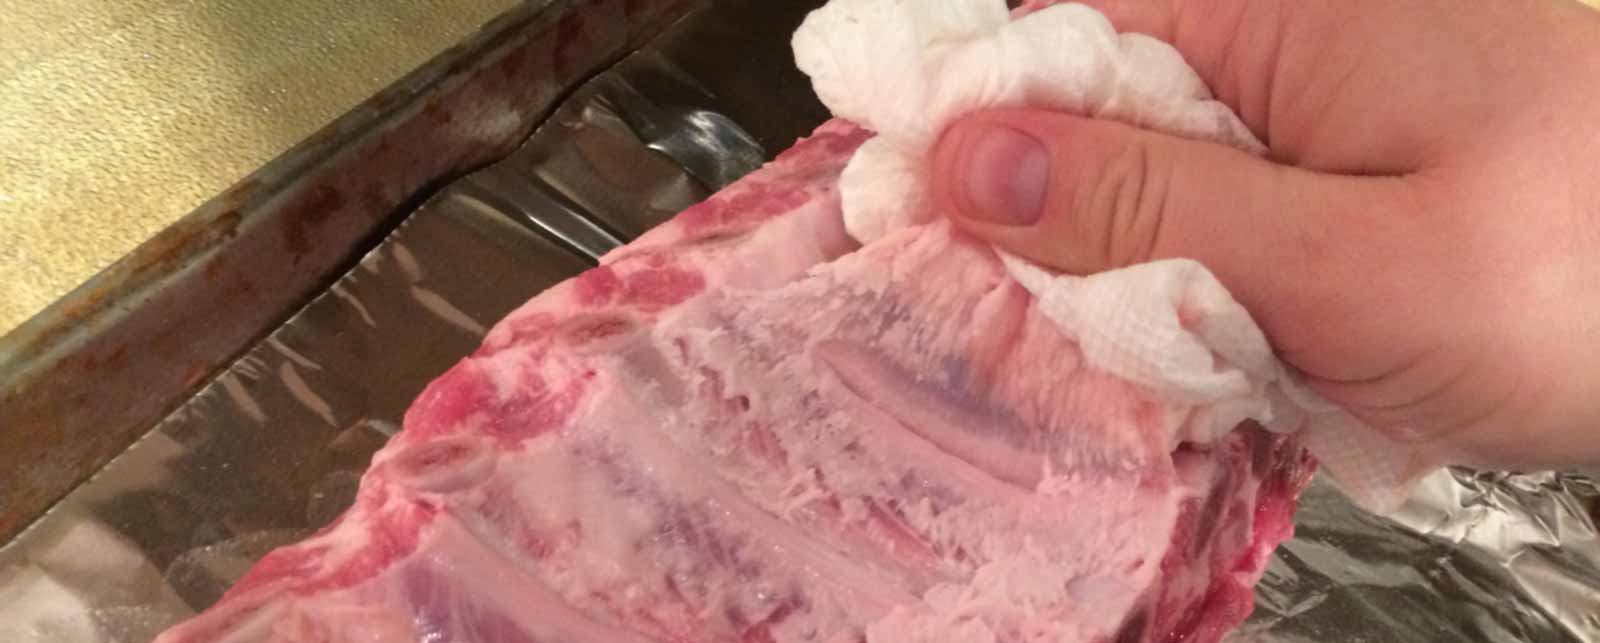
Here is a video demonstration of me removing the silver skin:
Spread the rub all over both sides of the ribs. Place the ribs on a cookie sheet. Cover the ribs in aluminum foil or plastic wrap. Place them back in the refrigerator overnight.
To prepare the boston butt I removed it from the packaging and rinsed the roast. I then trimmed some of the hanging hunks of fat and separated the roast into two 4 1/2 pound roasts. This will cut the cooking time in half. Make sure to remove any "flappy" pieces that might cause the rub to get stuck inside and not be able to form a crispy edge.
Spread the rub all over every side of the roasts. Place the roasts on a cookie sheet. Cover the roasts in aluminum foil or plastic wrap. Place them back in the refrigerator overnight.
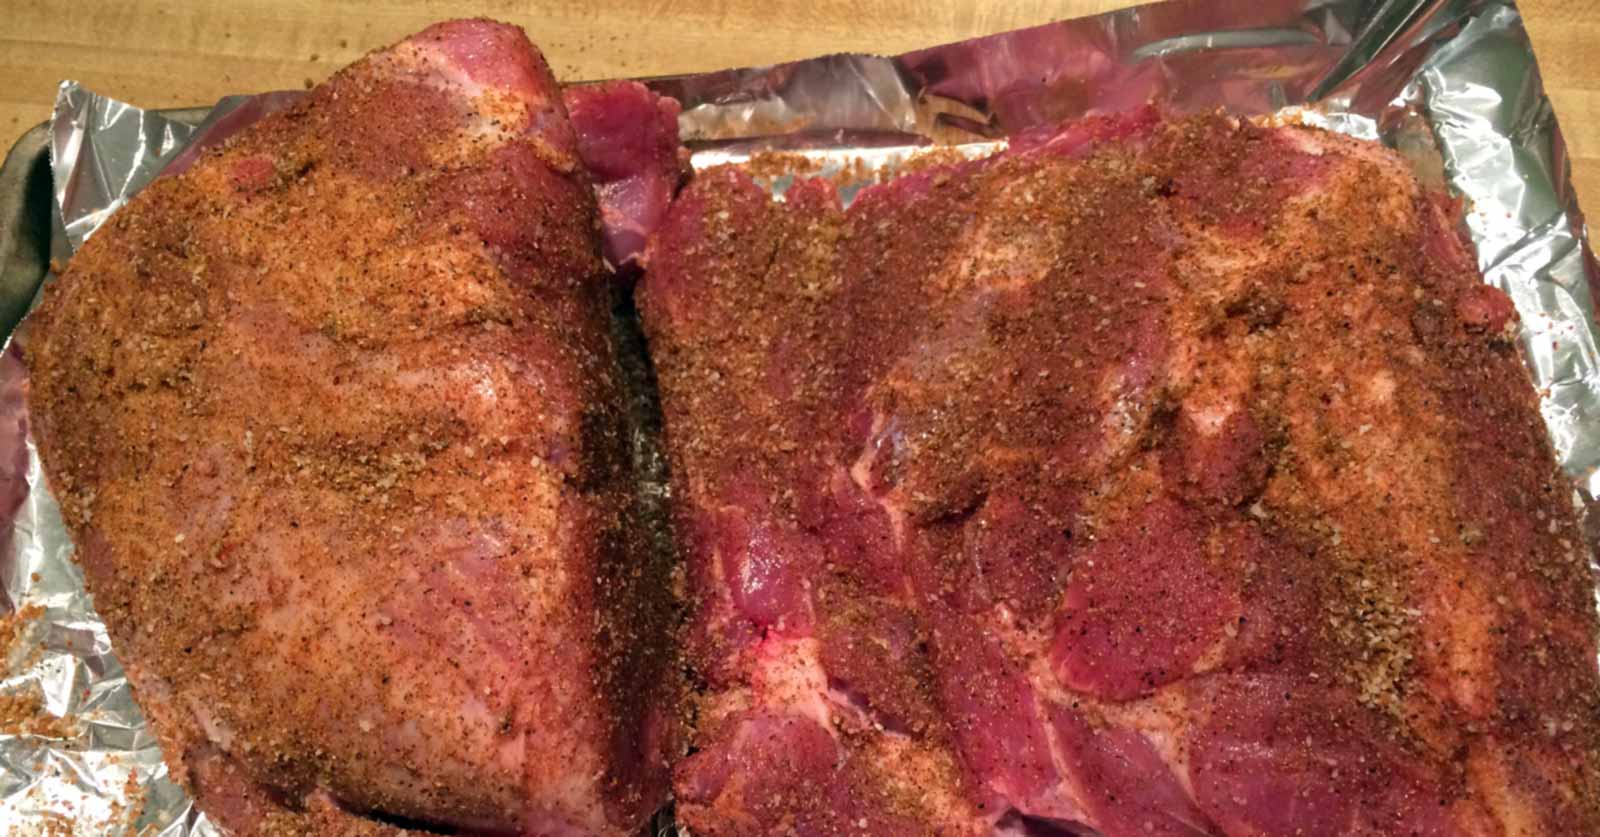
The raw meat and rub should already smell REALLY good at this point.
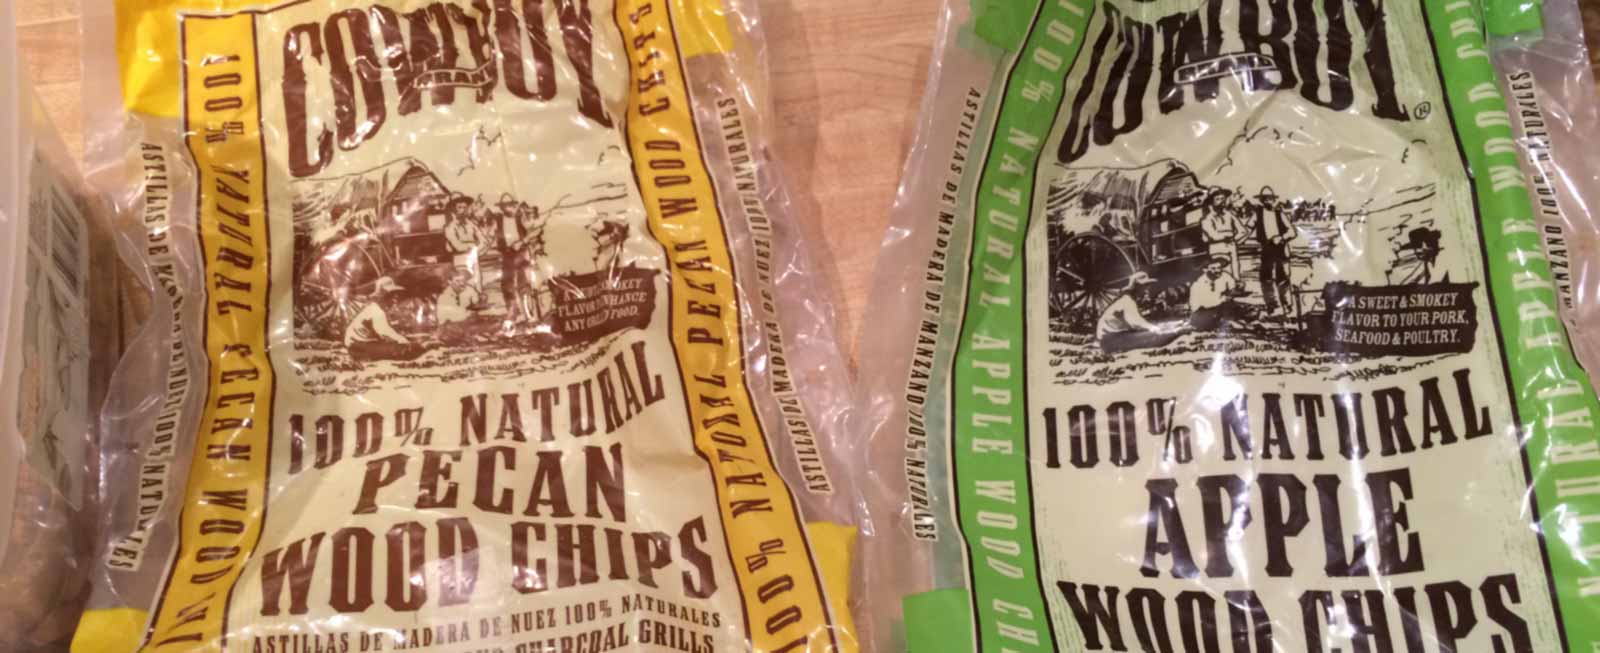
For this recipe we'll be using a mix of apple wood and pecan wood chips. The apple is going to add a nice sweet smoke to the meat, while the pecan will add a more complex flavor. Use three times as many cherry wood chips as pecan chips (3:1 ratio).
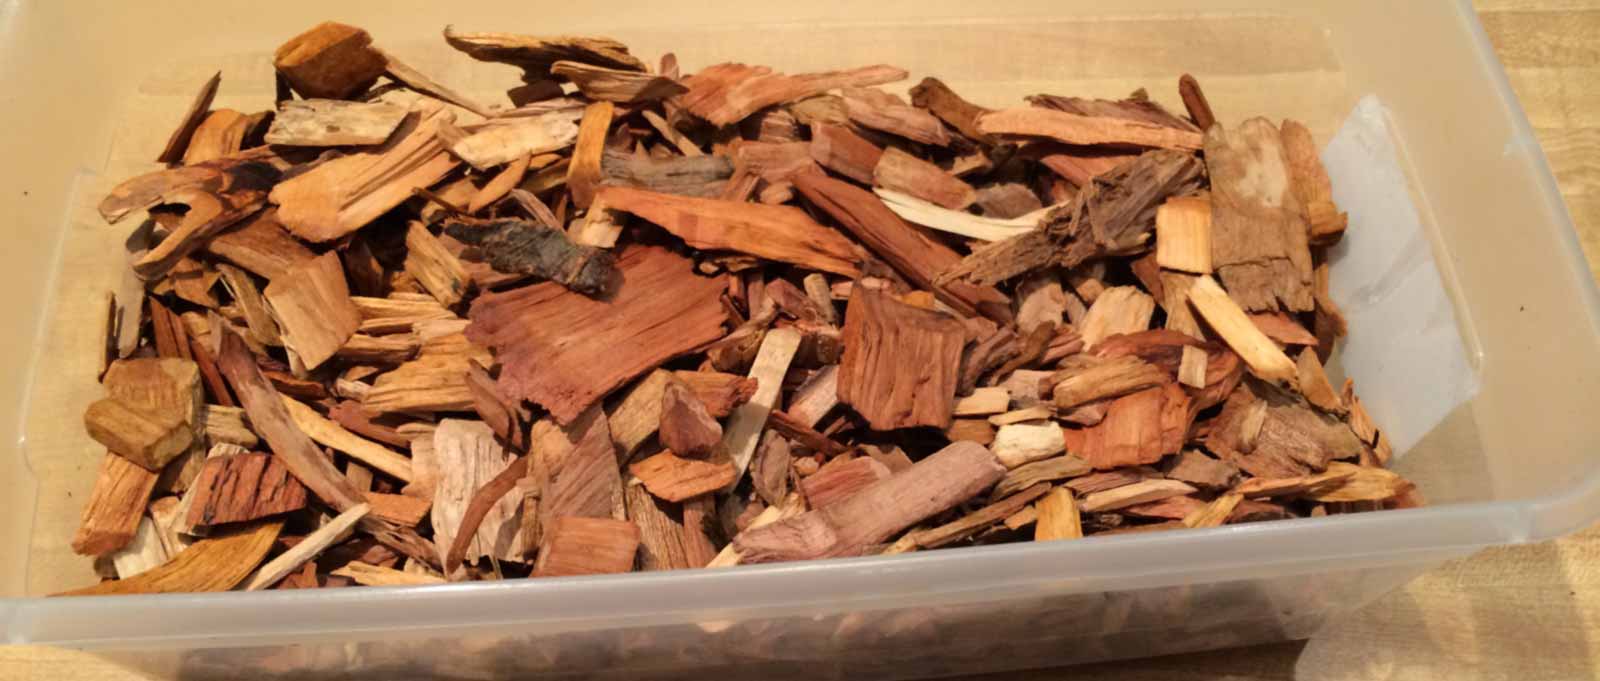
Pour the woodchips into a container, mix them up, and pour water into the container until it covers all of the wood chips and some begin to float.
We're going to have to start the smoker about 9 1/2 to 10 hours before the meal is served. We expect the Boston butts to take about 2 hours per pound to smoke. The ribs will be done reliably in 6 1/2 hours. You will need at least 30 minutes (maybe more) to get your smoker up to temperature.
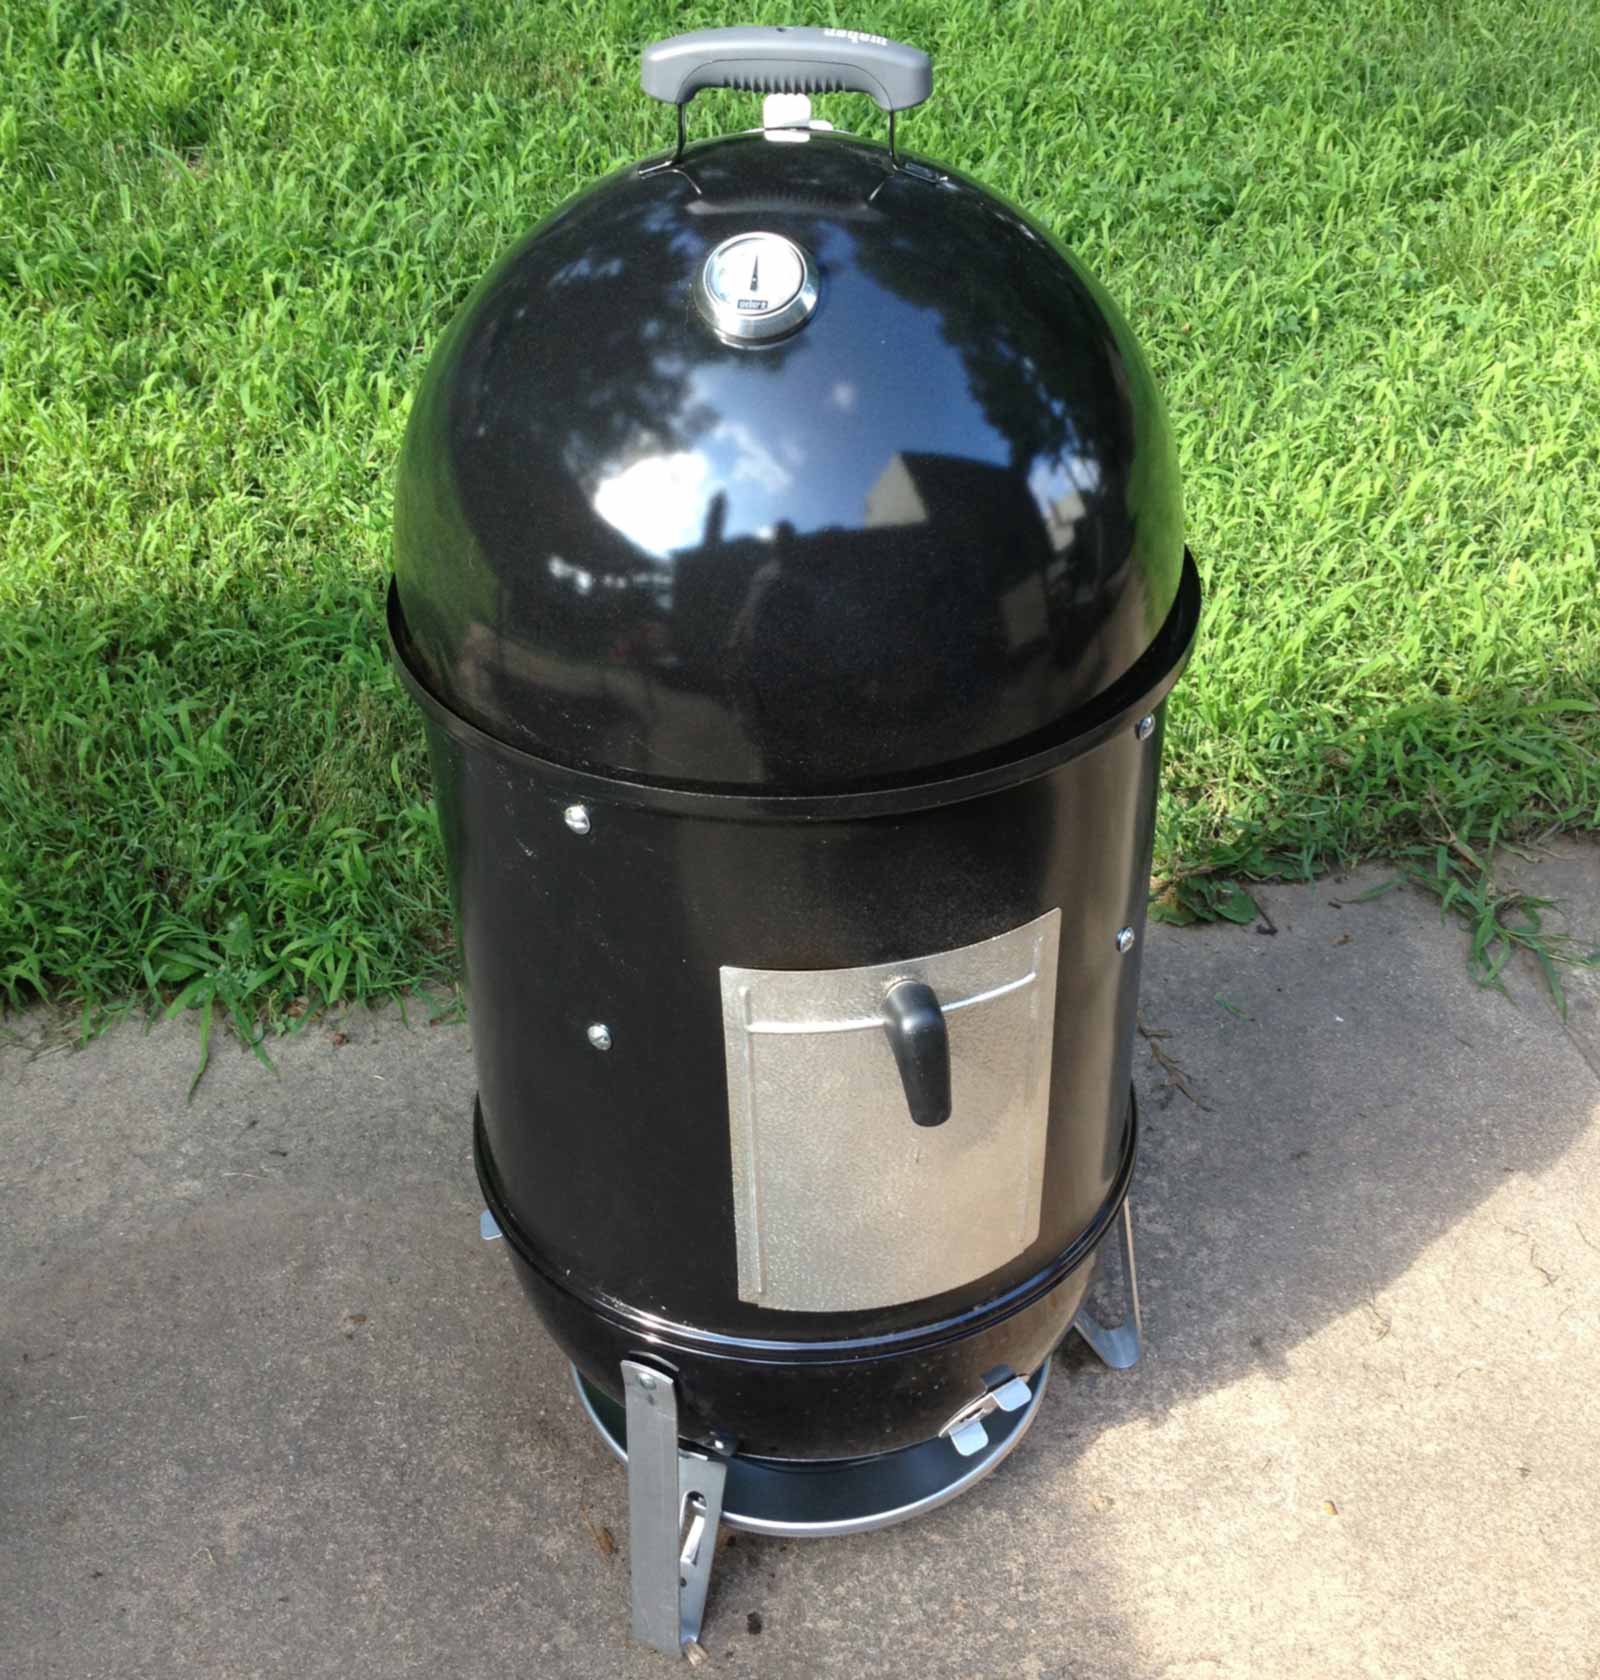
I'm using an 18" Weber Smokey Mountain Smoker. It's a great charcoal smoker that has a built in water bowl that will maintain temperature and improve humidity.
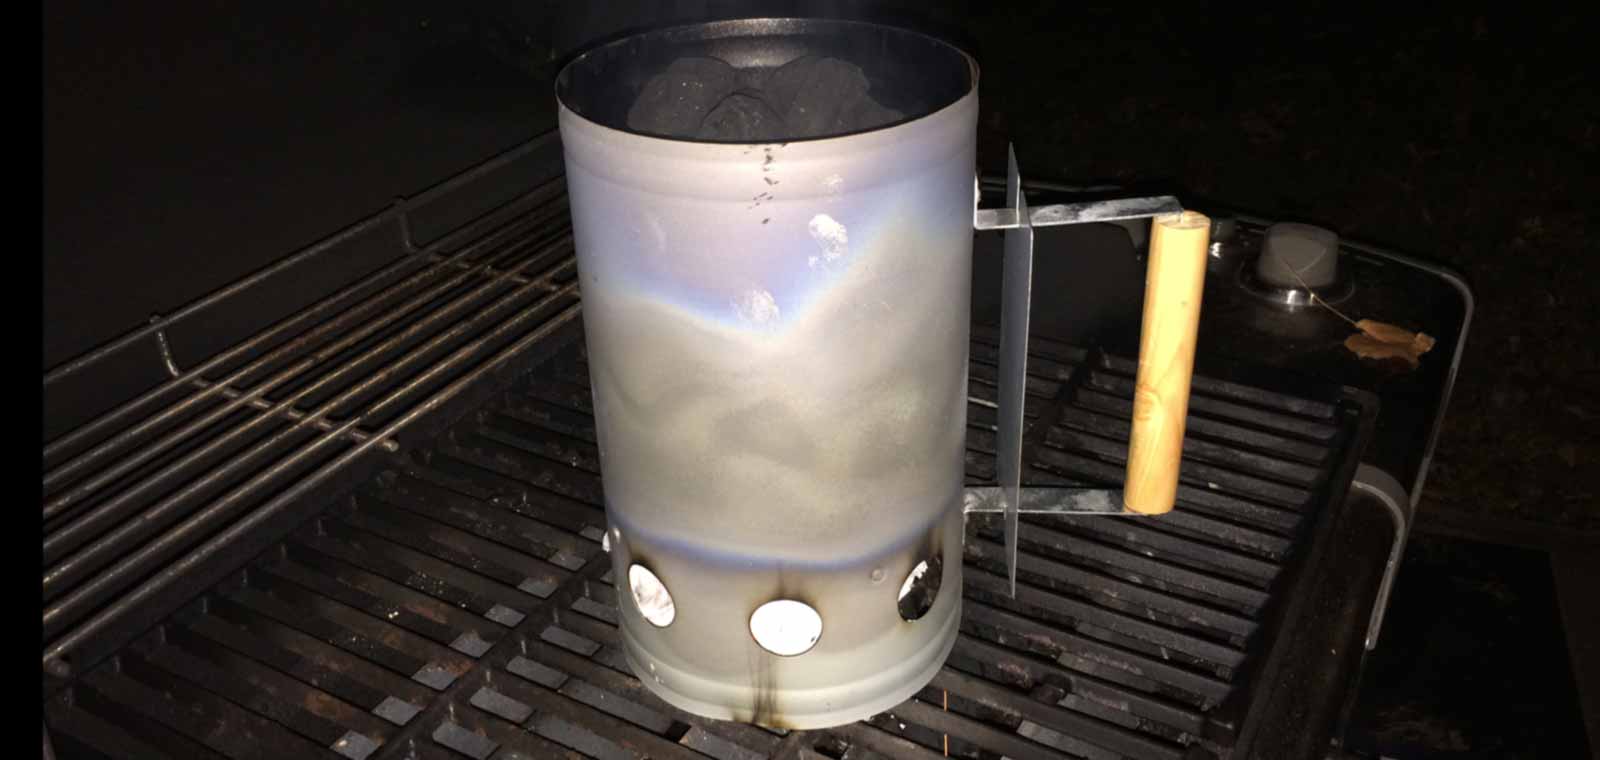
To get the charcoal fire started I always use a chimney starter. Just load the chimney with charcoal, put some paper underneath, and light it up. Wait about 10 minutes for the charcoal to get red hot.
FILL the bottom of the smoker with charcoal like a bird's nest and then pour the red hot coals into the middle of the pile of briquettes. Fill the water bowl and let the smoker start warming up.
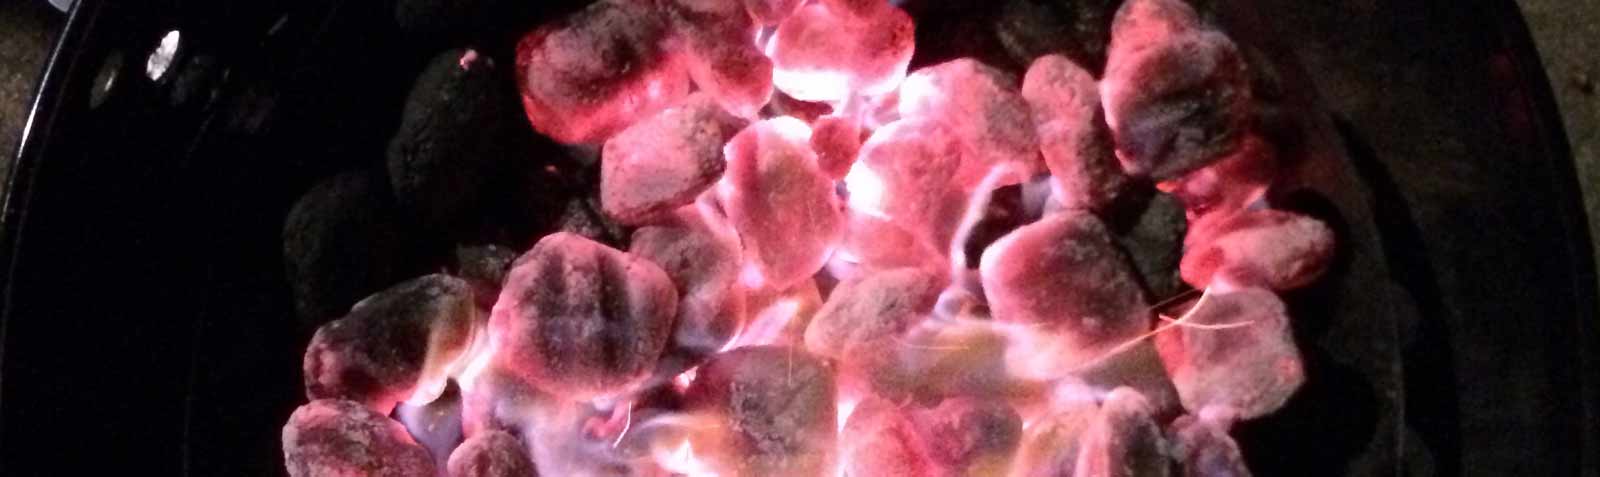
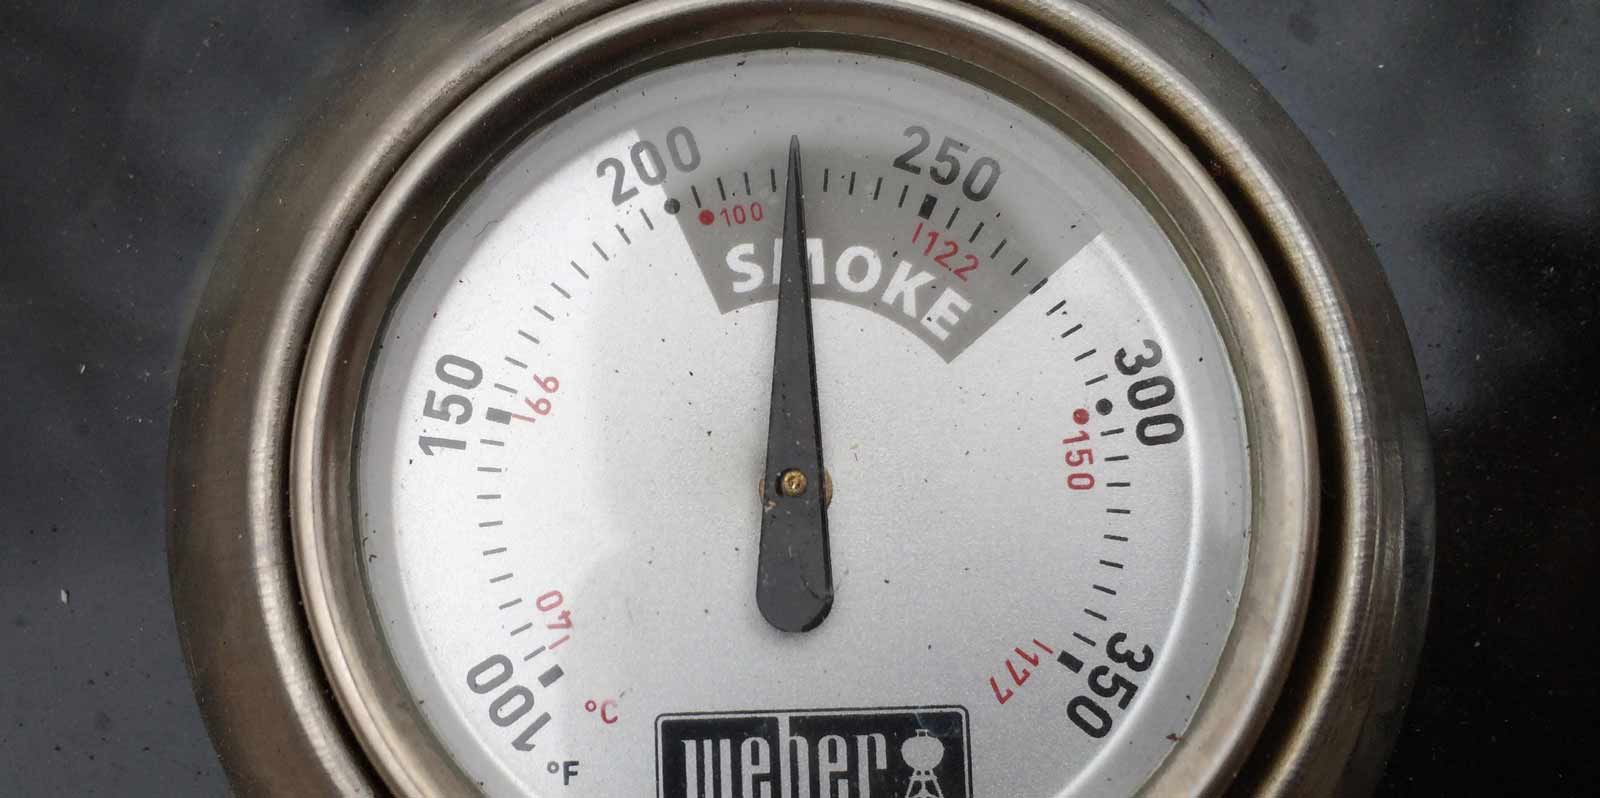
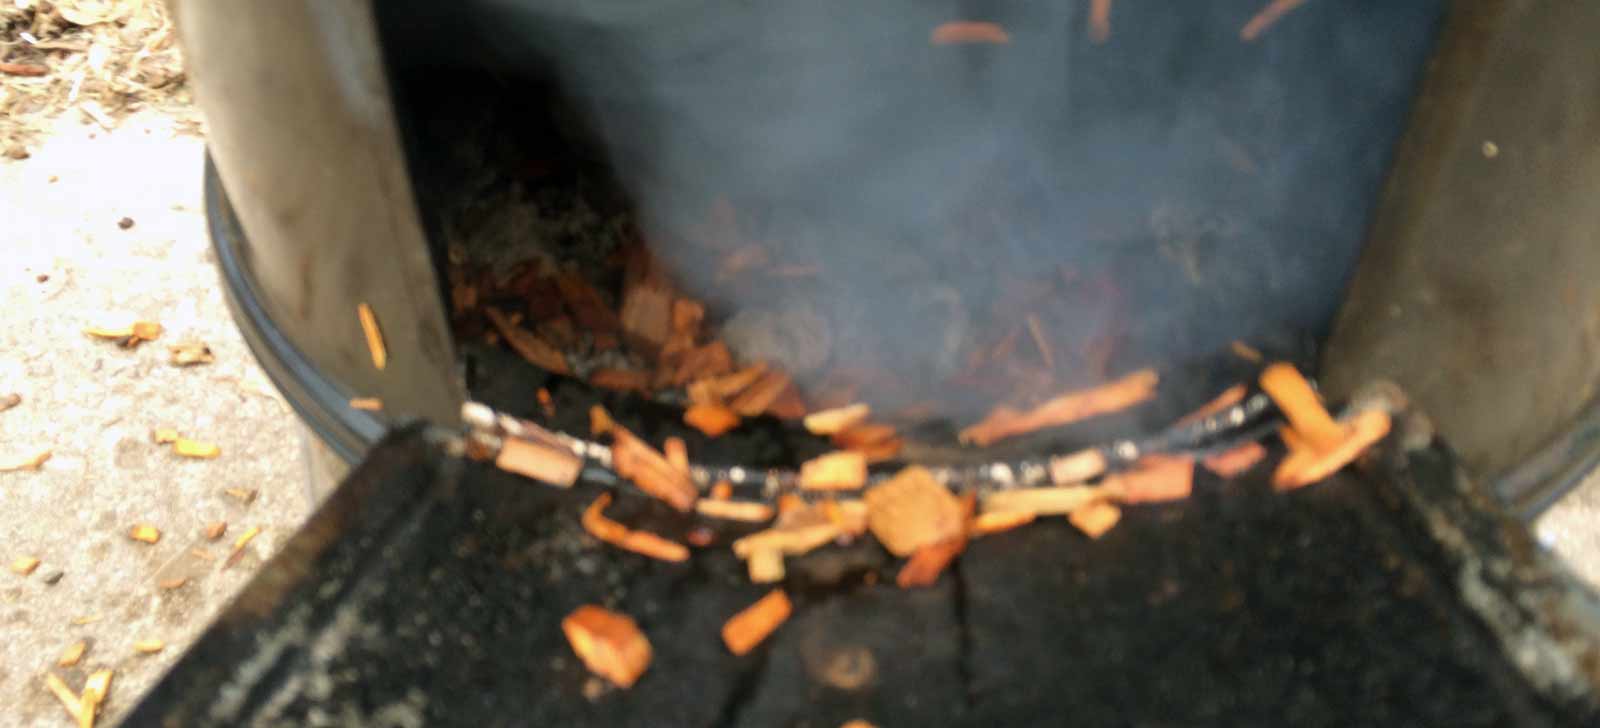
Open up all of the vents and let the smoker warm up to about 240F degrees. Open the door to the front of the smoker and add several handfuls wood chips. Continue to adjust the vents to maintain a smoker temperature between 230F-250F. Your smoker should have smoke pouring out of it.
Add some wood chips and the smoke should start bellowing out soon.
Remove the cold roasts from the refrigerator and place them on the middle rack just above the water bowl. For the next 8-10 hours you will be watching and smelling the roast cook.
Now is a good chance to add a wireless meat thermometer to the Boston Butt. Take the ribs out of the refrigerator and place them on the top rack of the smoker with the silverskin facing down and meat facing up.
At this point the Boston Butt has cooked for 6 hours and the ribs have cooked for 3 hours.
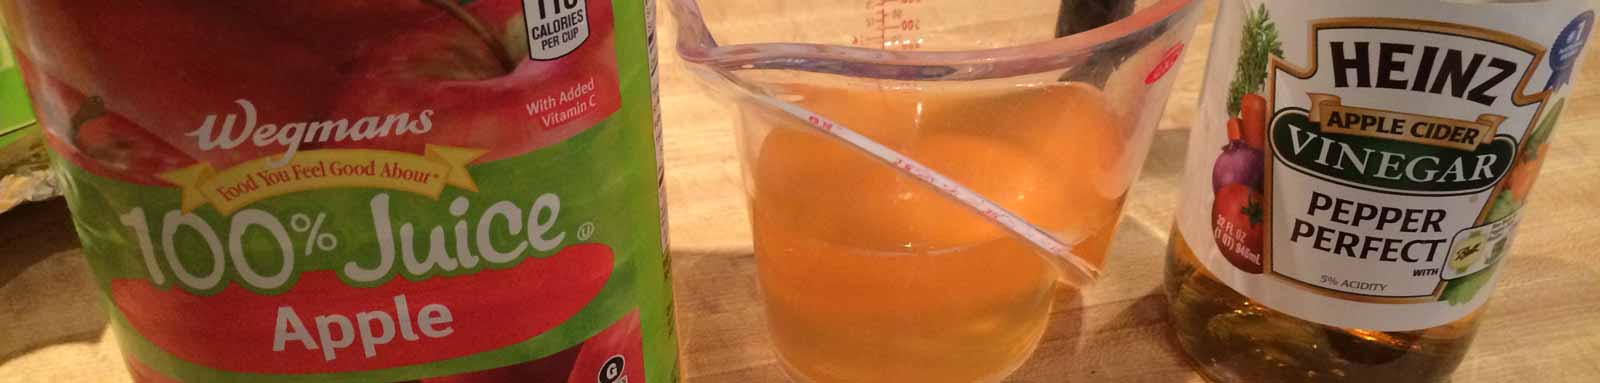
Make the "half & half" by mixing together a 1/2 cup of apple juice and a 1/2 cup of apple cider vinegar in a measuring cup.
Open the lid and place your ribs upside down (silverskin up) on some aluminum foil on top of a cookie sheet. A pair of rubber bbq cooking gloves will make this really easy. Pour in some of the "half & half" mixture enough to cover the bottom of the alumimum foil. Seal up the aluminum foil and place them back on the smoker for another 2 hours.

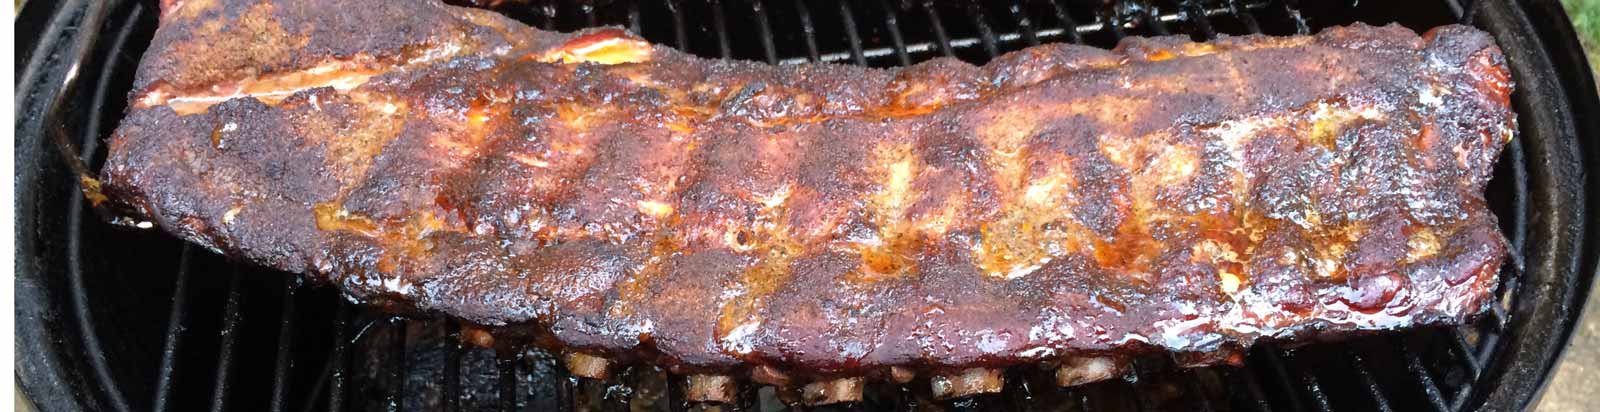
Take the ribs out of the foil and place them back in the smoker the original direction (silverskin down/meat up) for another 1 hour. Before you close the lid take a basting brush and apply a thin even coat of BBQ sauce to the top of the ribs.
Once the ribs have cooked for 6 hours they are ready to serve. You need an extra half hour of allotted time for wrapping and unwrapping them in foil and basting with BBQ sauce.
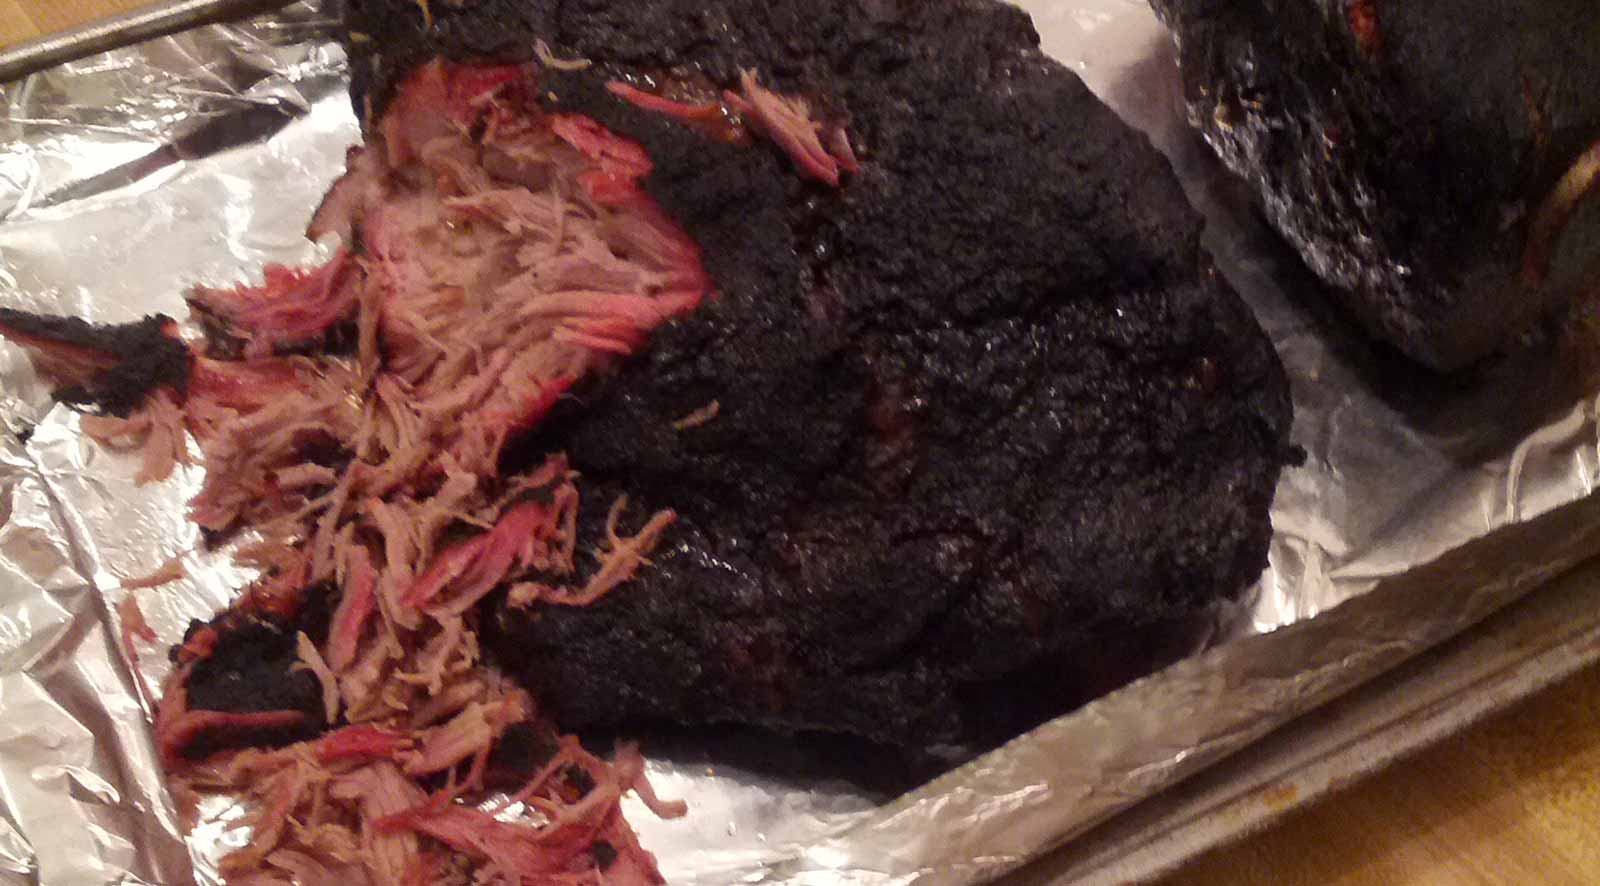
When the internal temperature of the Boston Butt reaches 205F it is the perfect temperature to shred apart or slice and serve.
April 19, 2014